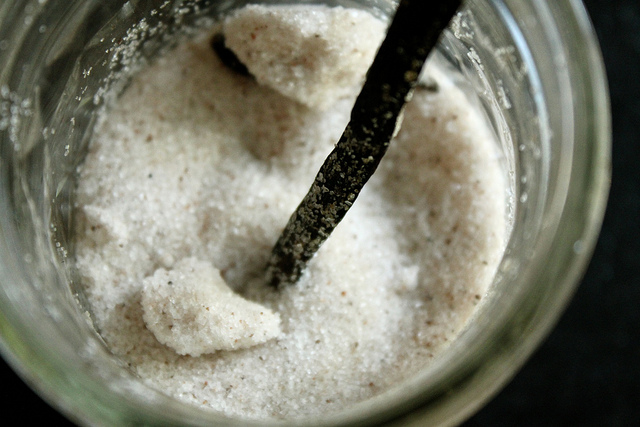
photo provided courtesy of affairsofliving.com
There are all kinds of fancy salts out there for you to blow your paycheck on. Confession: I own many of them.
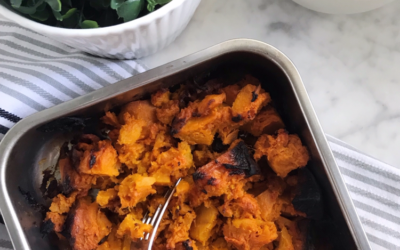
Thankfully, one of my favorite salts is one that I make at home. Vanilla salt couldn’t be easier to prepare, and the end result is lovely. I have two methods for creating vanilla salt, yielding different yet equally delightful results. I am sharing both methods with you; try each one and see which fits you best. I use my vanilla salt in baked goods, with fruit, over roasted sweet potatoes or squash, sprinkled over chocolaty desserts, or with roasted or grilled meats (helloooooo pork and chicken). I think you’ll like it too. If you decorate the jar with a cute label and a bit of ribbon, you have a wonderful homemade gift.
Vanilla beans are über-expensive if you buy them one-by-one or in small quantities. The trick is to buy a big bag and split the cost with a friend. A fellow foodie and I split the cost of this 1/2 pound bag of vanilla beans. We each ended up with about 30 beans for only about $13 per person. Sweet deal, right?
Okay, back to the salt mines…
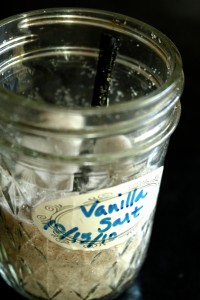 This salt recipe yields an intensely flavored vanilla salt, thanks to freshly scraped vanilla bean seeds. Simply scrape out the seeds and mix them in with the salt. For a fun visual twist and an extra punch of vanilla love, you can shove one of the scraped out bean pods in the jar along with the salt. This salt is very fragrant and strongly flavored, and absolutely divine. Sometimes I just open the jar and inhale deeply for an intoxicating vanilla moment. Yeah, I’m a jar sniffer.
Fragrant Vanilla Salt ingredients
• 2 vanilla beans
• 3/4 cup unrefined salt
• 8-ounce glass jar
directions
- Split vanilla beans with a sharp knife, then scrape out seeds with the tip.
- Mix into salt so seeds are evenly distributed.
- Transfer salt to jar, along with one of the vanilla bean pods if you’d like (cut pod in half as necessary to fit jar). Close jar and keep indefinitely. Flavor will intensify with age.
This second option is what I call Recycled Vanilla Salt, which uses only the scraped out vanilla bean pod to flavor the salt. The result is less intense than the option above, but still very good. After you use the precious vanilla bean seeds for another recipe, save that bean pod and “recycle it” to infuse a light vanilla flavor – and fragrance – to humble salt. The effect is more subtle, but still present. Truly, I think the pod is nearly as precious as the seeds, and I generally come up with some way to use it. I often use the flavor-packed leftover bean pod in a smoothie or homemade banana “ice cream” (my Vitamix decimates that pod into creamy oblivion) rather than throwing it away. Waste not, want not!
Recycled Vanilla Salt ingredients
• 1 scraped out vanilla bean pod
• 3/4 cup unrefined salt
• 8-ounce glass jar
directions
- Place scraped out vanilla bean pod in a jar with salt. Close jar and keep indefinitely. Wait 1-2 months before using for a more developed vanilla flavor, as flavor will intensify with age.
Recycling your food one step further…
You’ll notice that as the vanilla bean pod sits in the salt, it hardens and becomes very crisp because the salt draws out the moisture. Congratulations, you now have a salt-preserved vanilla bean pod! Rather than throwing it away when the salt is gone, add the dry pod to a spice grinder and grind it up with spices to create a rub for meats, or to create a warmly flavored spice mix (cinnamon, nutmeg, cloves, cardamom…). You could also grind it with raw cacao beans and mix it with coconut butter for a yummy raw treat. Get creative, the options are endless.
recipe courtesy affairsofliving.com





0 Comments